gazefilter.app can be used as an overlay with gaze visualization in OBS Studio without requiring any plugins or additional software. You just need to do a little setup to get it working seamlessly.
To begin, launch OBS with the additional CLI parameter --enable-media-stream. This parameter is essential for enabling the Browser Source in OBS to utilize media devices.
-
Windows using PowerShell:
Start-Process "obs64.exe" -ArgumentList "--enable-media-stream" -WorkingDirectory "C:\Program Files\obs-studio\bin\64bit" -
Windows Command Prompt:
cd /d "C:\Program Files\obs-studio\bin\64bit" && obs64.exe --enable-media-stream
For convinience, you can add this parameter to the “Target” field at the end (after ") in the shortcut properties on Windows.
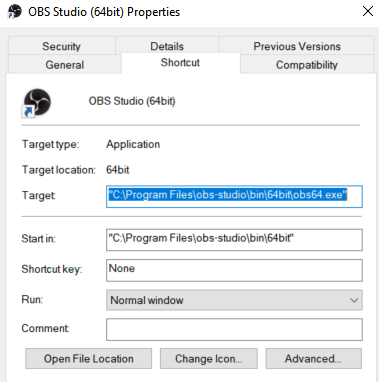
--enable-media-stream parameter allows any Browser Source you add in OBS to access media devices such as your camera and microphone. Ensure that you trust any other site you use as a Browser Source to avoid potential privacy and security risks.
Setup Scene Source
Next, create a new Browser Source.
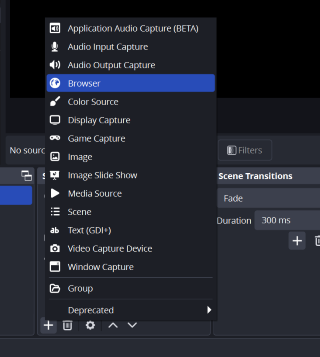
You can name this source as you like, for instance, “Gazefilter Eye Tracker”.
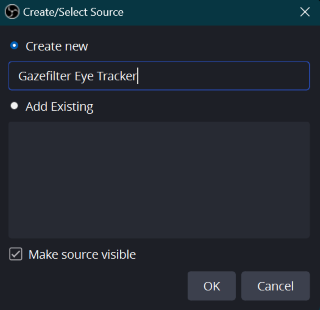
In the properties for the newly created browser source, you’ll need to configure several settings:
-
Set the URL:
https://gazefilter.app?startup=true&calib=fullThe
startupparameter ensures that gazefilter attempts to connect to a video device immediately upon loading. -
Adjust the width and height to match the resolution of the display you’re recording.
For example, if you have two screens with resolutions of 1920x1080 and 2560x1440, and you intend to stream the second one, set the width to 2560 and the height to 1440.
-
Check the Use custom frame rate option and set the FPS to 60.
Even if your camera does not support 60 FPS, it is better to set the custom frame rate to the highest possible value. This setting controls the rendering rate for the web page, and a higher rate can reduce video frame processing drops and make the calibration process smoother.
-
Add the following custom CSS:
body { background-color: transparent; }Note: This custom CSS makes the Gazefilter appear as a transparent overlay, allowing it to blend with your OBS scene.
-
Optionally, if you prefer Gazefilter to disconnect from a device when source is not visible, check the Shutdown source when not visible option.
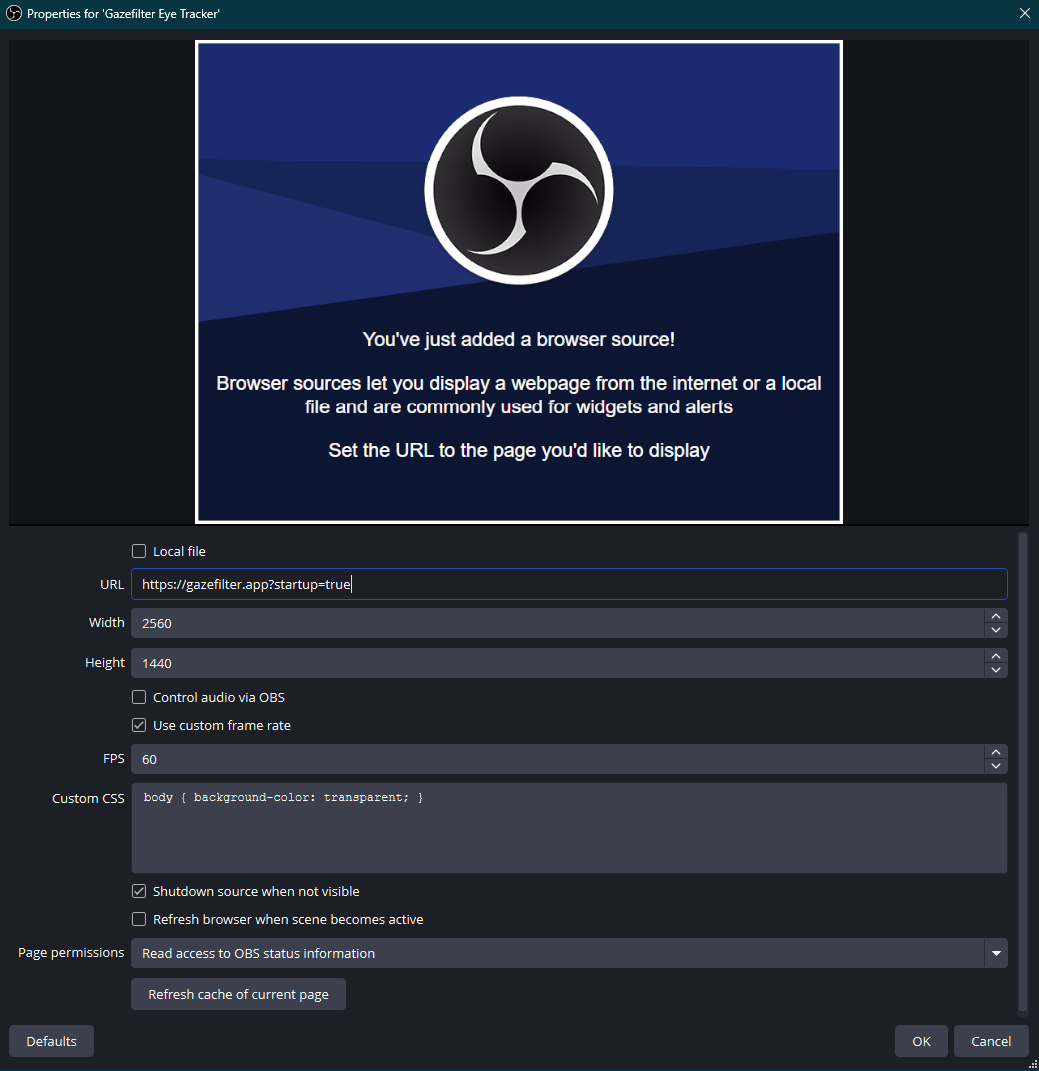
Leave all other parameters at their default settings and click OK.
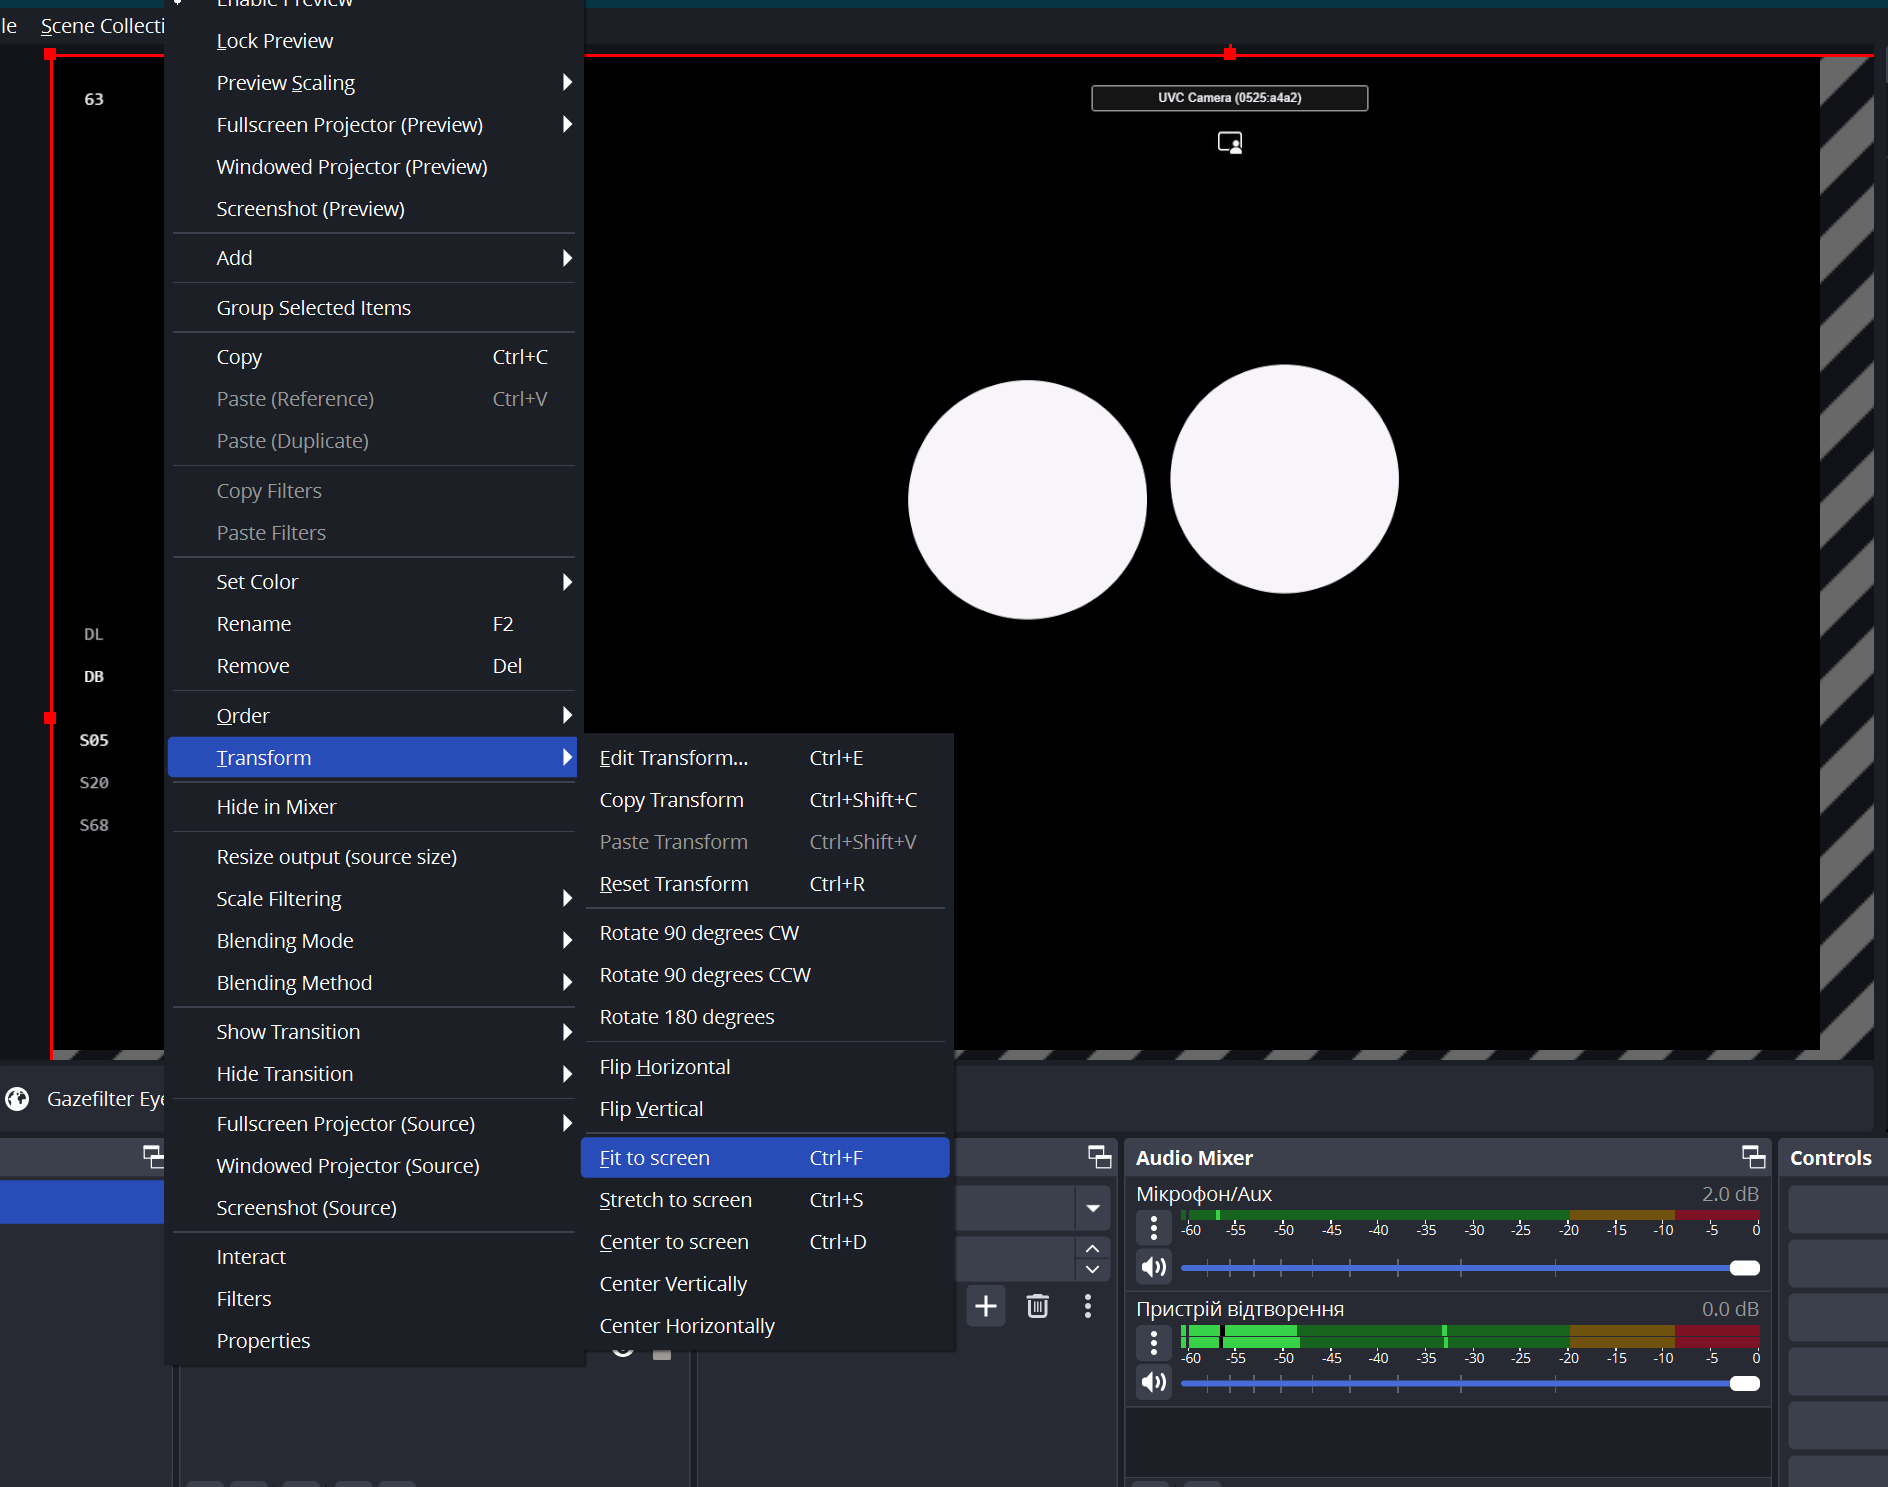
If your screen resolution does not match the recording output size (for instance, if your screen has a 2K resolution but OBS output is Full HD), you can fit the browser source to the recording output by right-clicking on the browser source, selecting Transform → Fit to Screen, or by selecting the browser source and pressing
Ctrl+F.
Interaction with Eye Tracking
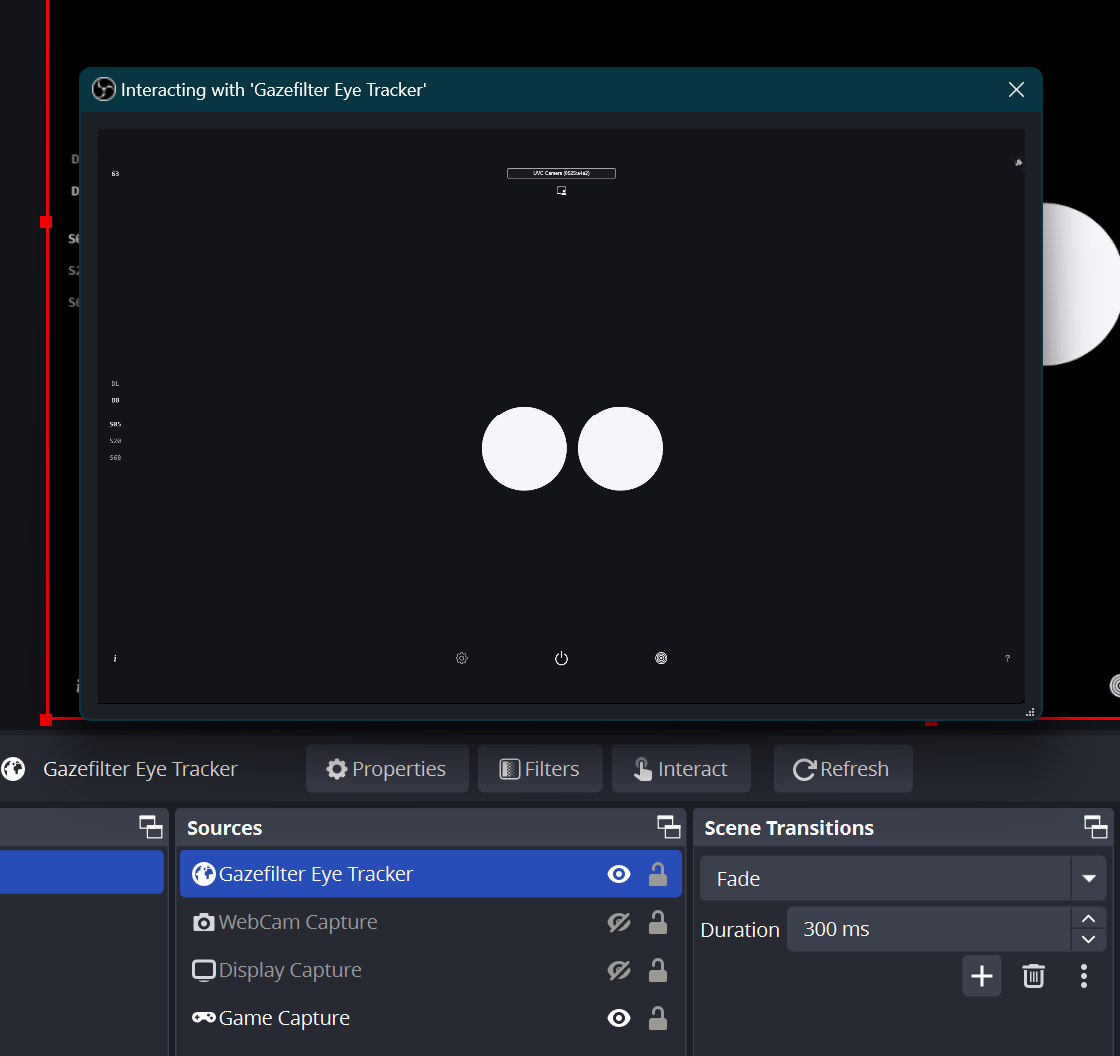
To fine-tune eye settings such as detection models, device selection, and calibration, you’ll need to interact directly with the web page within OBS. Select the browser source with gazefilter and click Interact.
This will open a new window where you can interact with the gazefilter UI.
If multiple video devices are available, you can select the desired device by pressing the digit key from
1to0on your keyboard, where1is the first device.
Keep this interaction window open for the subsequent steps.
Eye Tracking Calibration
For optimal eye-tracking performance:
- ensure your camera is positioned at eye level near the screen you want to use for gaze overlay,
- use the application in a well-lit environment, ideally with the light source positioned behind the camera,
- the screen should be within a hand’s reach,
- if you wear glasses, make sure that reflections on the lenses do not obstruct the visibility of your pupils.
You can try the calibration at gazefilter.app in the web browser of your choice to test the gaze calibration. The workflow there will be the same.
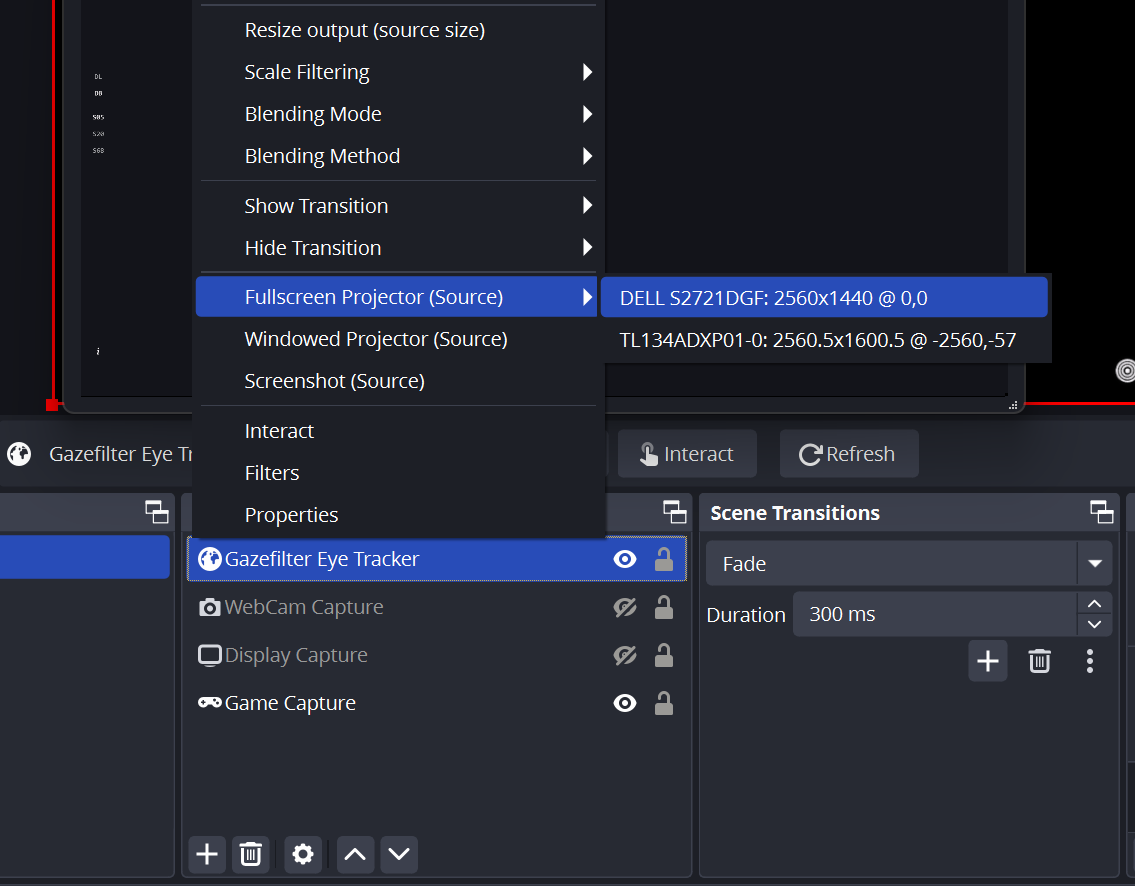
Before enabling a gaze overlay, you need to perform gaze calibration. To do this, Gazefilter should be rendered over the screen that OBS is capturing. Right-click on the browser source with gazefilter and select Fullscreen Projector → [display name].
In the interaction window, click the calibration button (located to the right of the power button) and follow the instructions on the projected window. Ensure that the interaction window is in focus for key-based interactions during calibration.
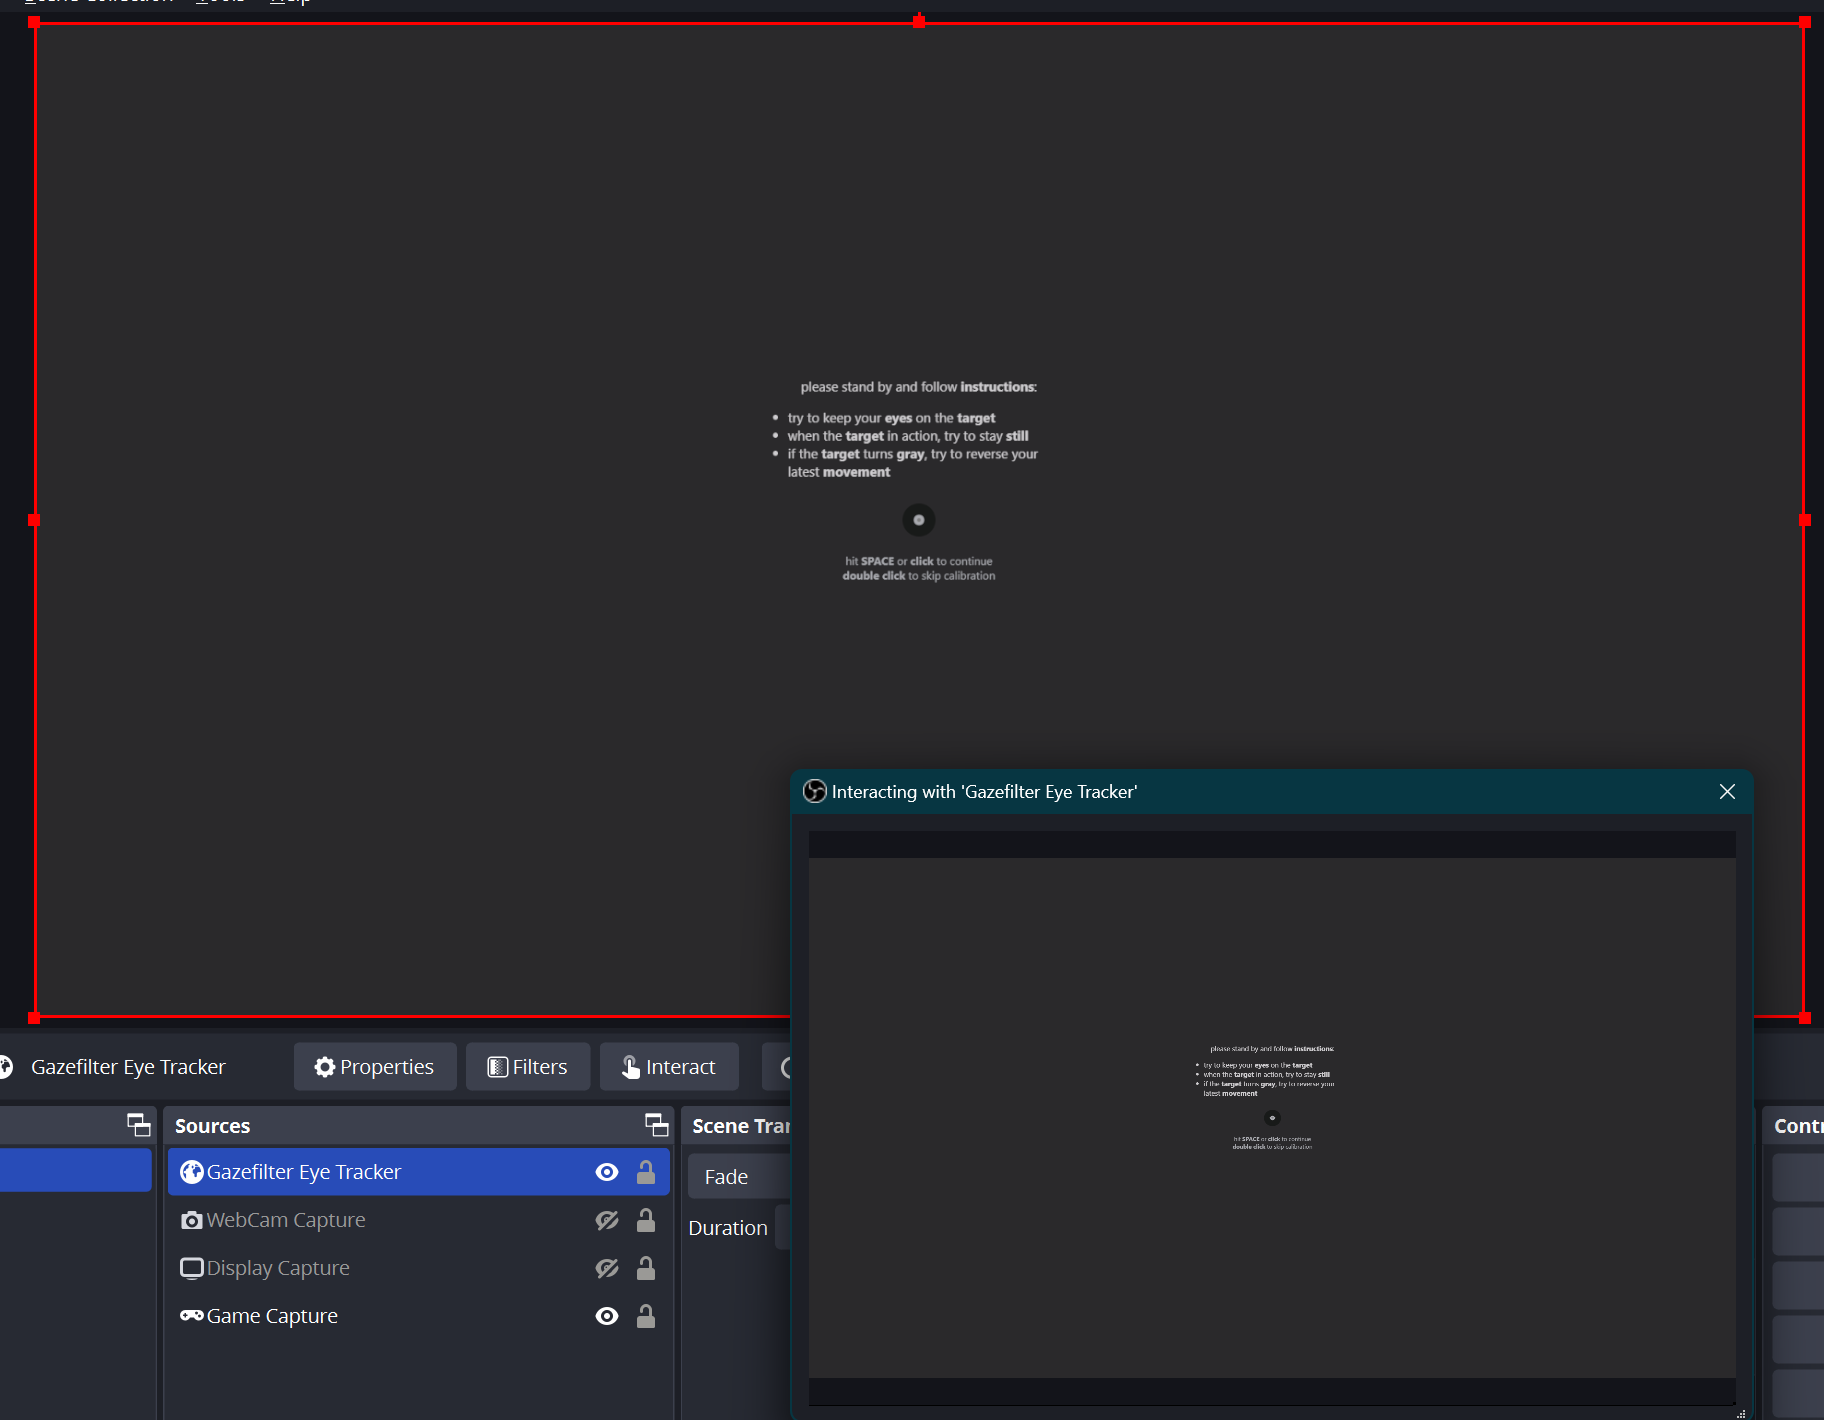
Once calibration is complete, you should see a thin circle moving on the screen, which visualizes your gaze. You can close the projection window.
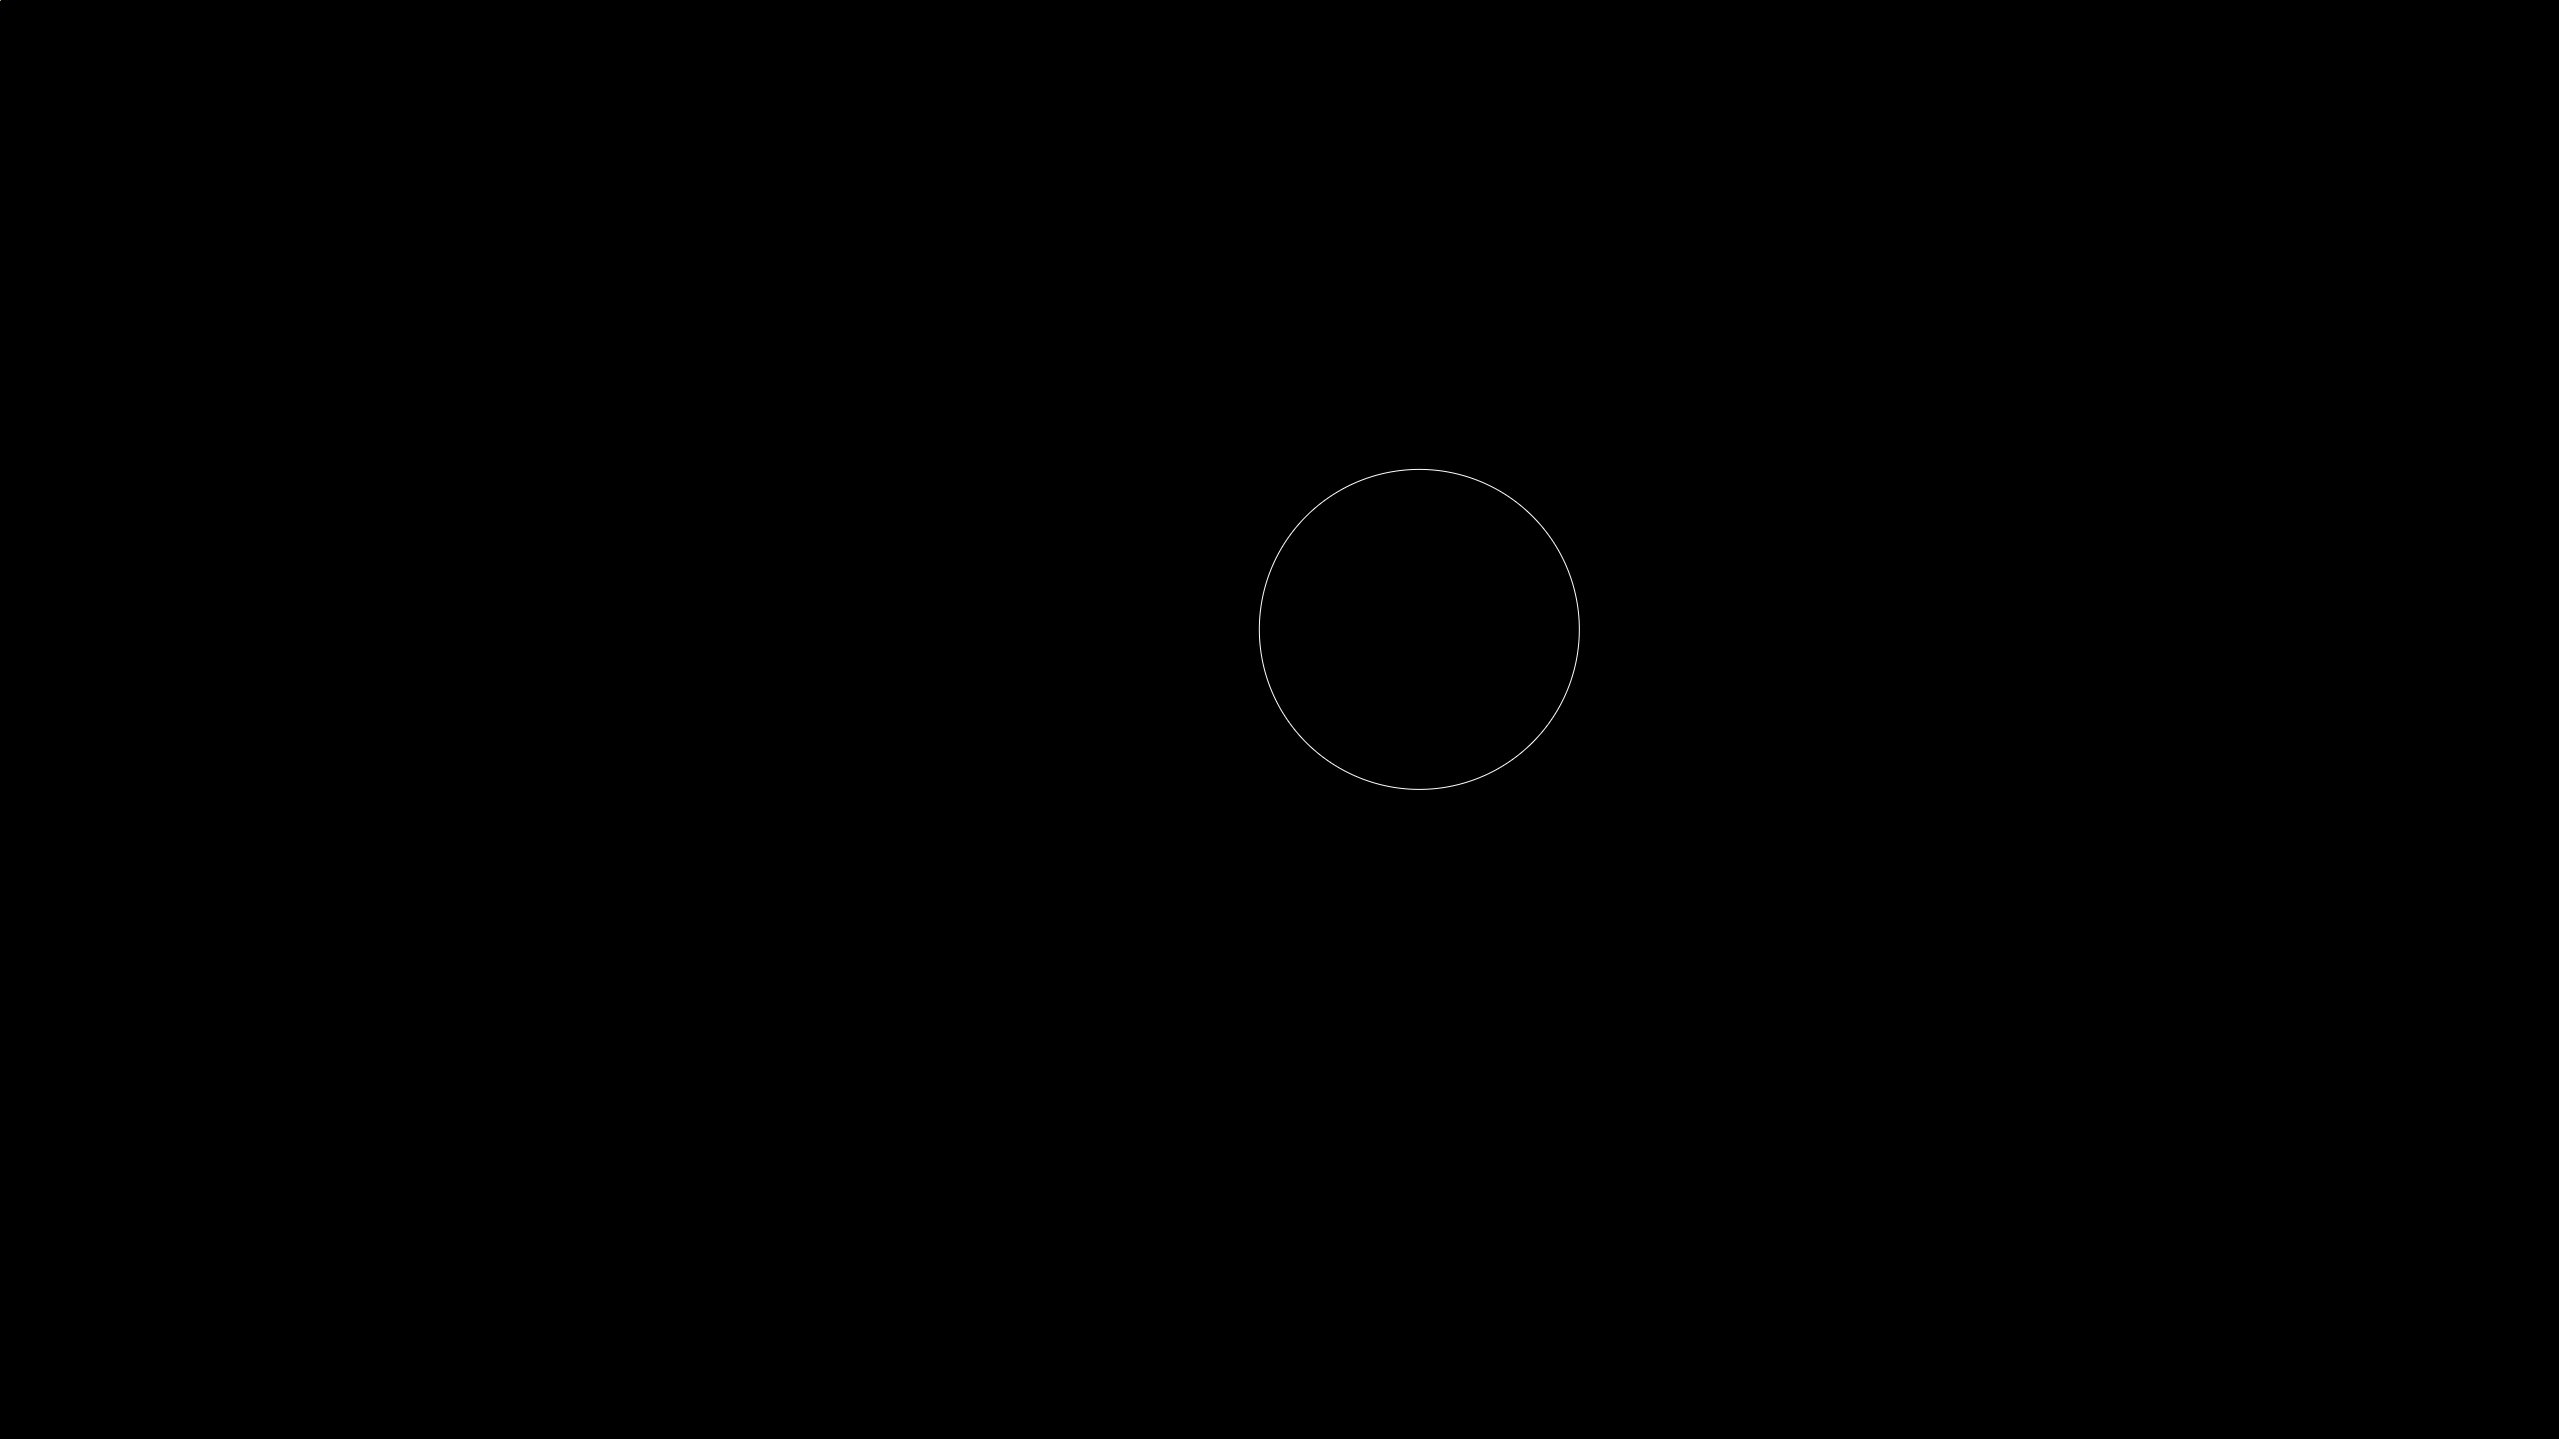
This overlay will now be visible in the OBS recording preview. Make sure that the browser source is positioned above other opaque sources in the source list.
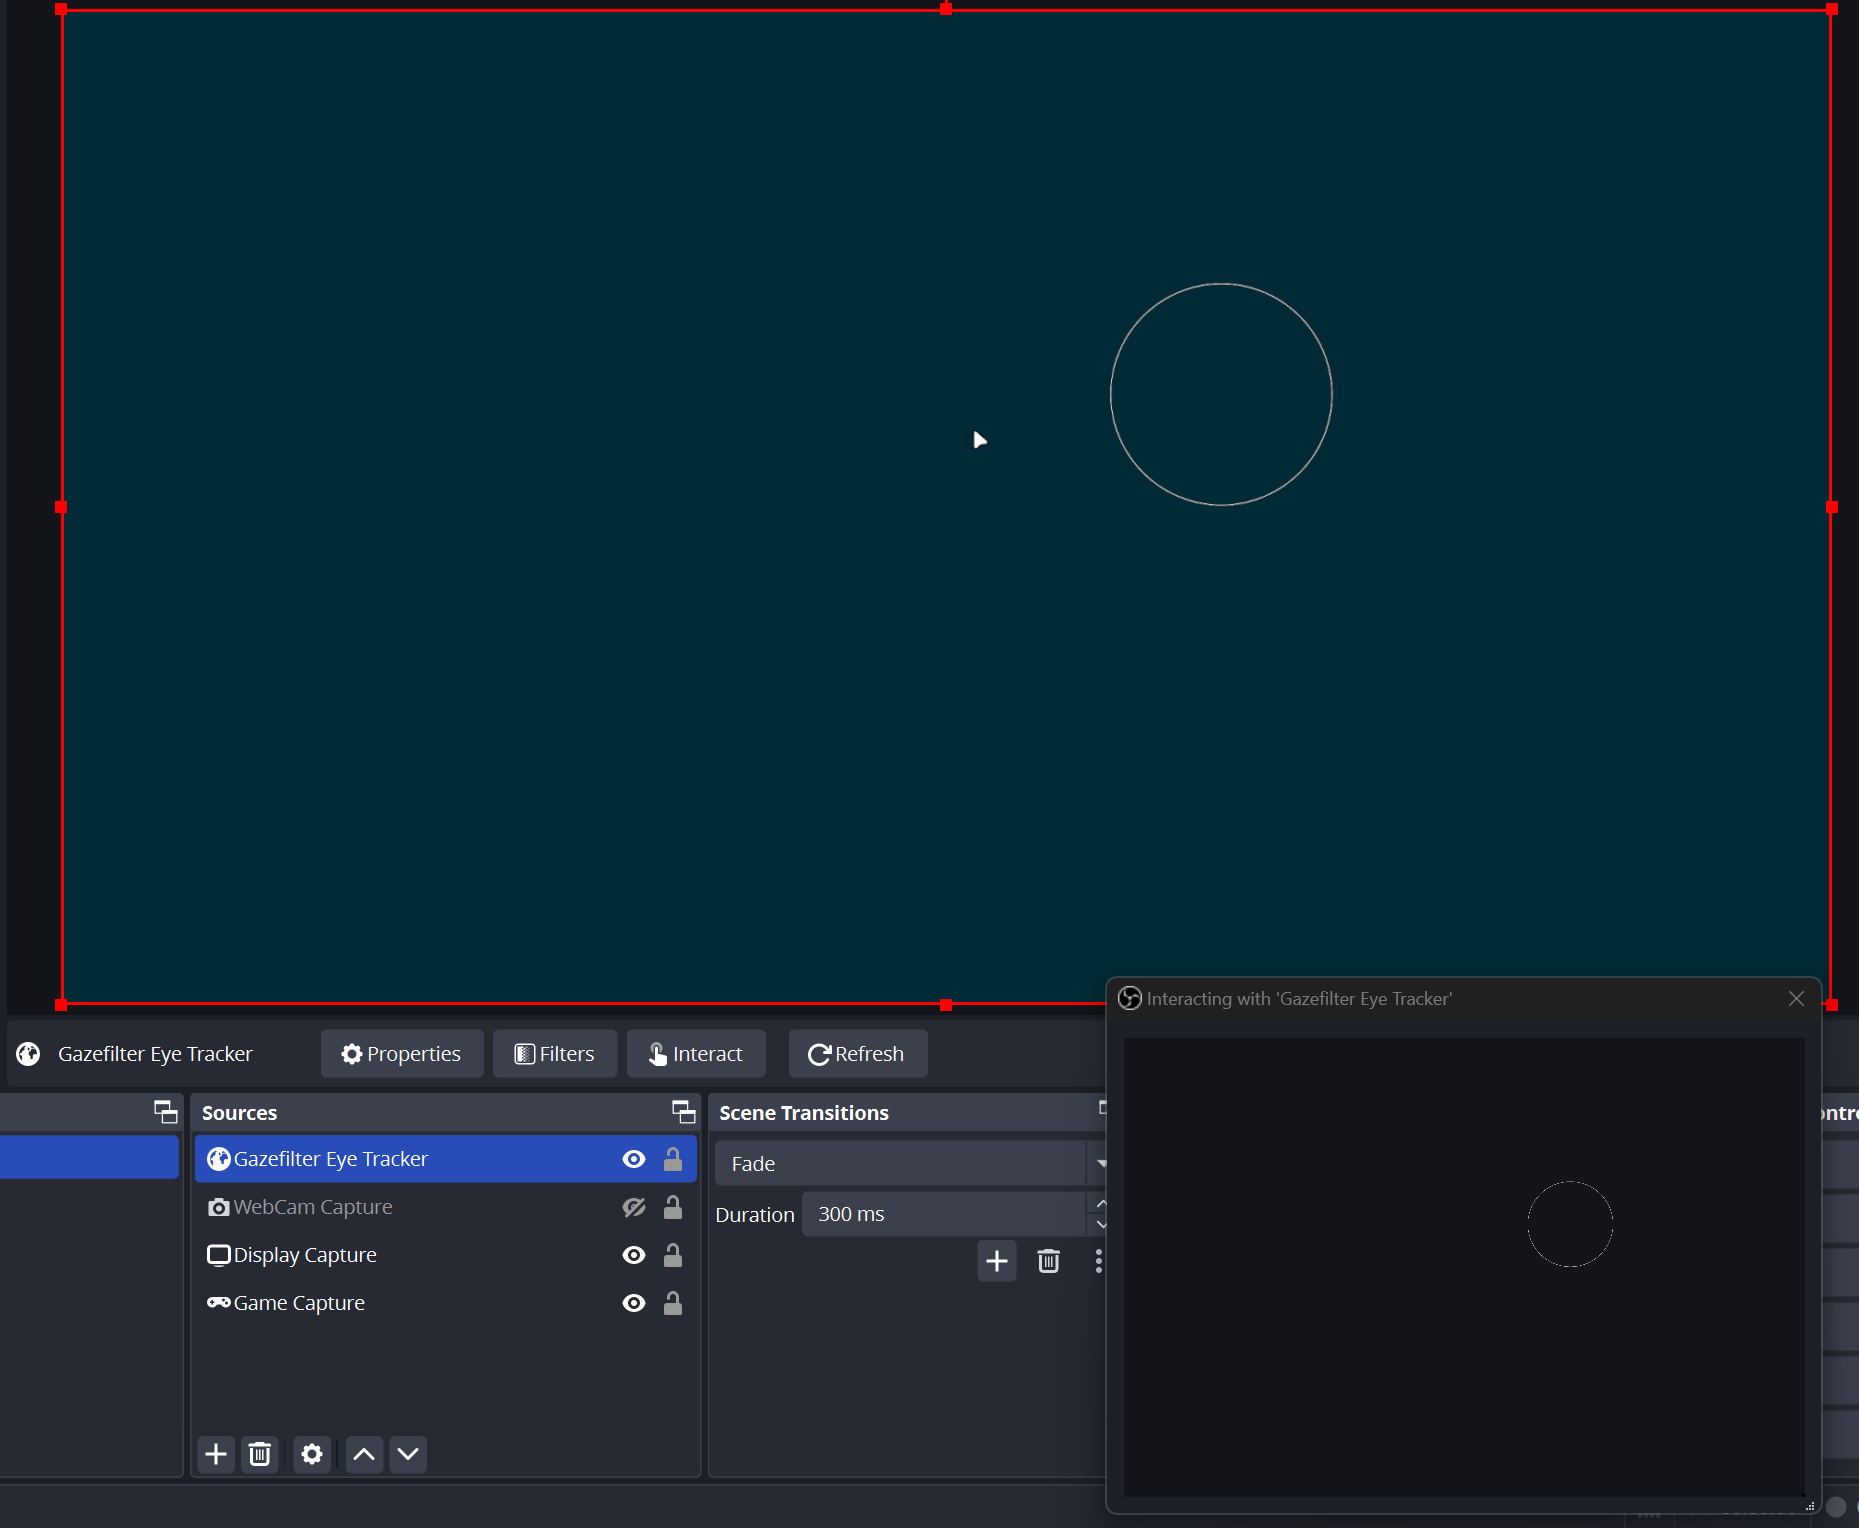
Calibration is saved automatically. To open the gaze overlay without going through the calibration process again, start calibration and then double-click inside the interaction window.
All is set up! You can now stream or record with the active gaze overlay.
